Showing posts with label christmas. Show all posts

Dec 1, 2014

gift wrapping inspiration in blue + white

i have been busy the last couple of weeks! i was contracted to scheme up a design direction for a fun center...yep, a fin center. the kind with an arcade and party rooms and laser tag and a bowling alley! no worries---there won't be any crazy, psychedelic clown carpeting and primary colors anywhere in the space. i conjured up a muted yet whimsical color scheme, with just enough touches of metal, wood and concrete to make it feel grounded.  if you want a peek at the board that i pulled together, you can see it on my instagram feed!

anyway, the whole project got me thinking a bit "outside MY box". i tend to gravitate to neutral, dark color schemes with lots of texture and simple, classic lines, but i honestly find almost all interior decor styles appealing in their own way. when jennifer at the pink pagoda asked for participants to link up to her blue and white bash, i thought that it would be fun to pull together some inspiration for one of my favorite holiday activities---gift wrapping!


click here for all sources.

in case you need some wrapping inspiration, you can click here, or enjoy these:


to see more blue + white inspiration, head back to the pink pagoda blue + white bash to see what others have posted!

have a great monday,


Dec 18, 2013

diy striped + color blocked ornaments

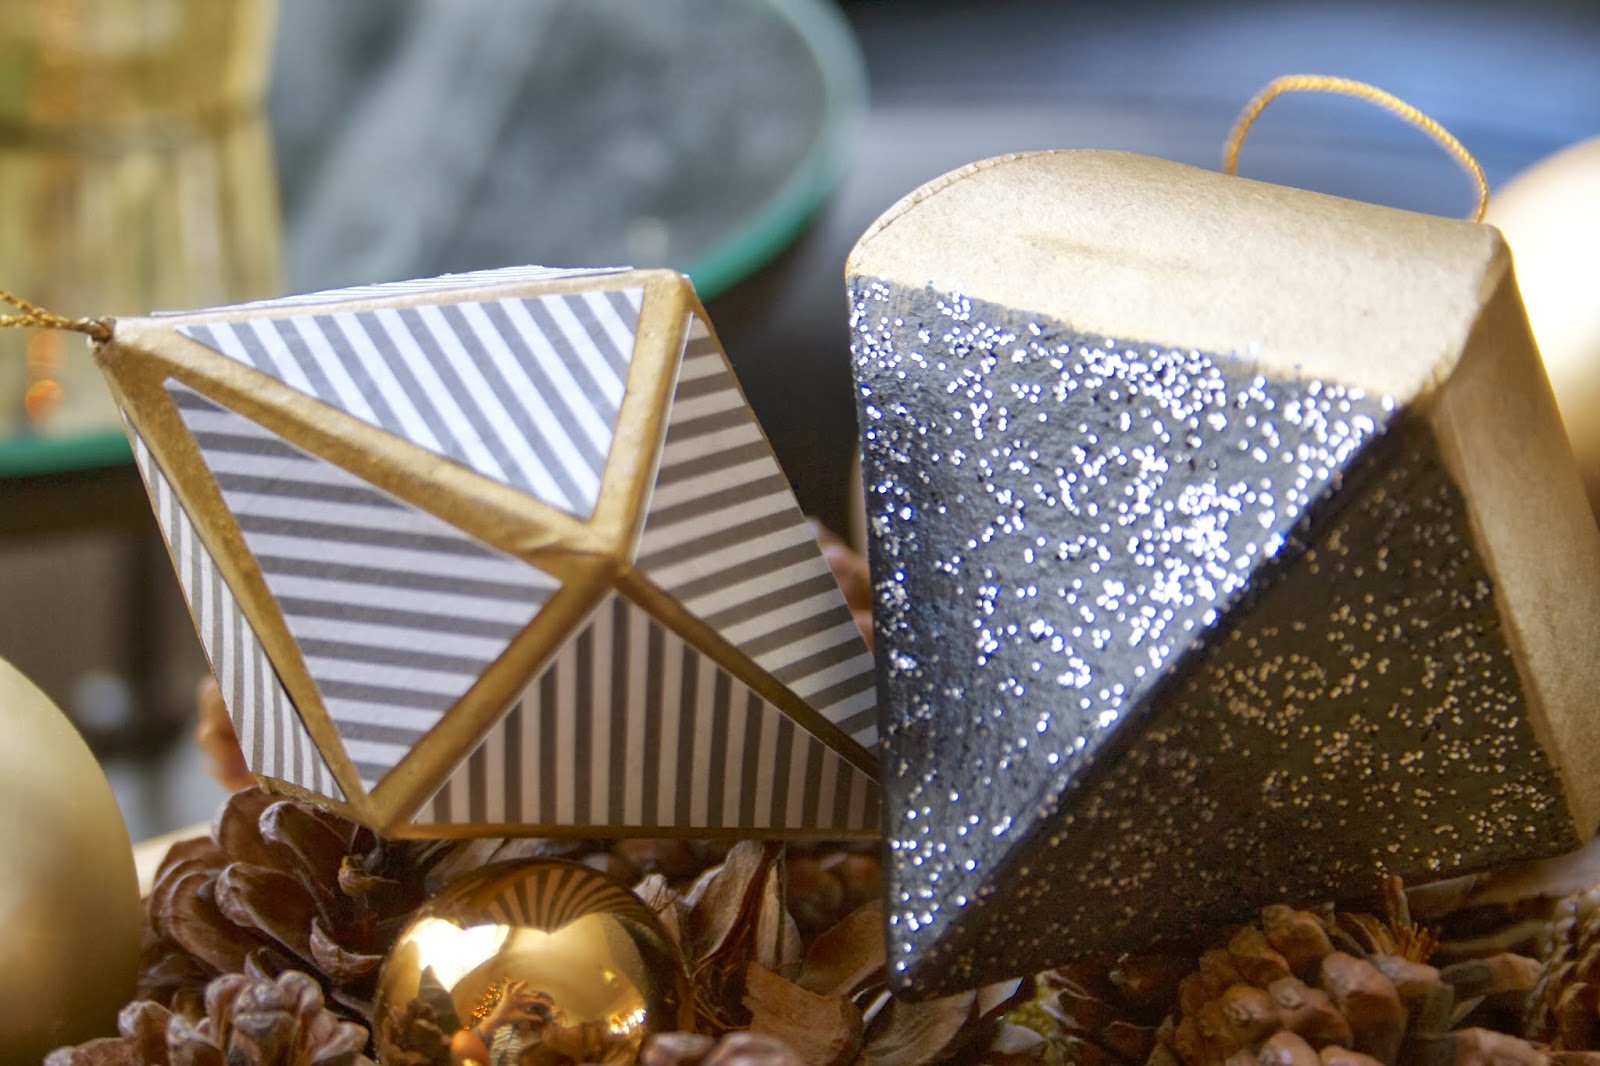
a simple recipe for two easy to make, modern ornaments!


i bought my paper mache ornaments at michaels craft store for less than 50 cents each. the paint, glitter paint, rub n buff and paper totaled around around $9. i made 10 ornaments for right around $1 each!


i really like the pop of pattern these add to my tree!

i always think that a nice dose of black can do wonders for a room, but i was honestly surprised at how much i LOVED seeing what a dose of black did for my tree!


 together, these ornaments add a little "edge: to my christmas decor....and they were SO easy to make!

color blocked ornament:
i just rubbed the top part of the color blocked ornament with gold rub n buff, and painted the bottom half with black paint.
once the black paint was dry, i went over it with black glitter paint.

striped ornament:
i rubbed rub n buff on all of the edges of the ornament.
then i traced the triangular surfaces (this ornament has 2 different sizes) onto some scrap paper to get my templates, which i used to trace my finished triangles out of the grey striped scrapbook paper.


 this is a fun, inexpensive and easy project, and can be done in so many different ways!


Dec 12, 2013

christmas at my house

welcome to my house!
it has been so much fun decorating my house for christmas this year. finally being in our OWN home after renting for 5 years is a tremendous blessing!

i like the door color ("leap of faith" by benjamin moore) even more after seeing it with the fresh greenery!

if you follow me in instagram, then you saw that i bought some rope at home depot!
here it is! i just draped a few feet of it around the door, paired with the fresh cedar garland and some white lights.

the wreath is from costco. every year, they have beautiful fresh wreaths with a few pine cones and a few ugly things that i remove. you can see previous wreath makeovers here and here. this year, i used the nut + crystal clusters that i made two years ago, and paired them with pine cones and a tone on tone green ribbon. 

maybe next year, there will be a fireplace and built-in bookcases on this wall, but for now, my buffet is serving as a backdrop to most of my collection of mercury glass, some fresh garland, loads of ornaments and pine cones, and of course, my new nativity set.

 
the large star was a clearance purchase last year at pier 1. i love the hugeness of it!


another look at the nativity backdrop.


 i made this crystal + nut garland a few years ago, and i LOVE pulling it out every year and figuring where to put it. you can see how i made it here.


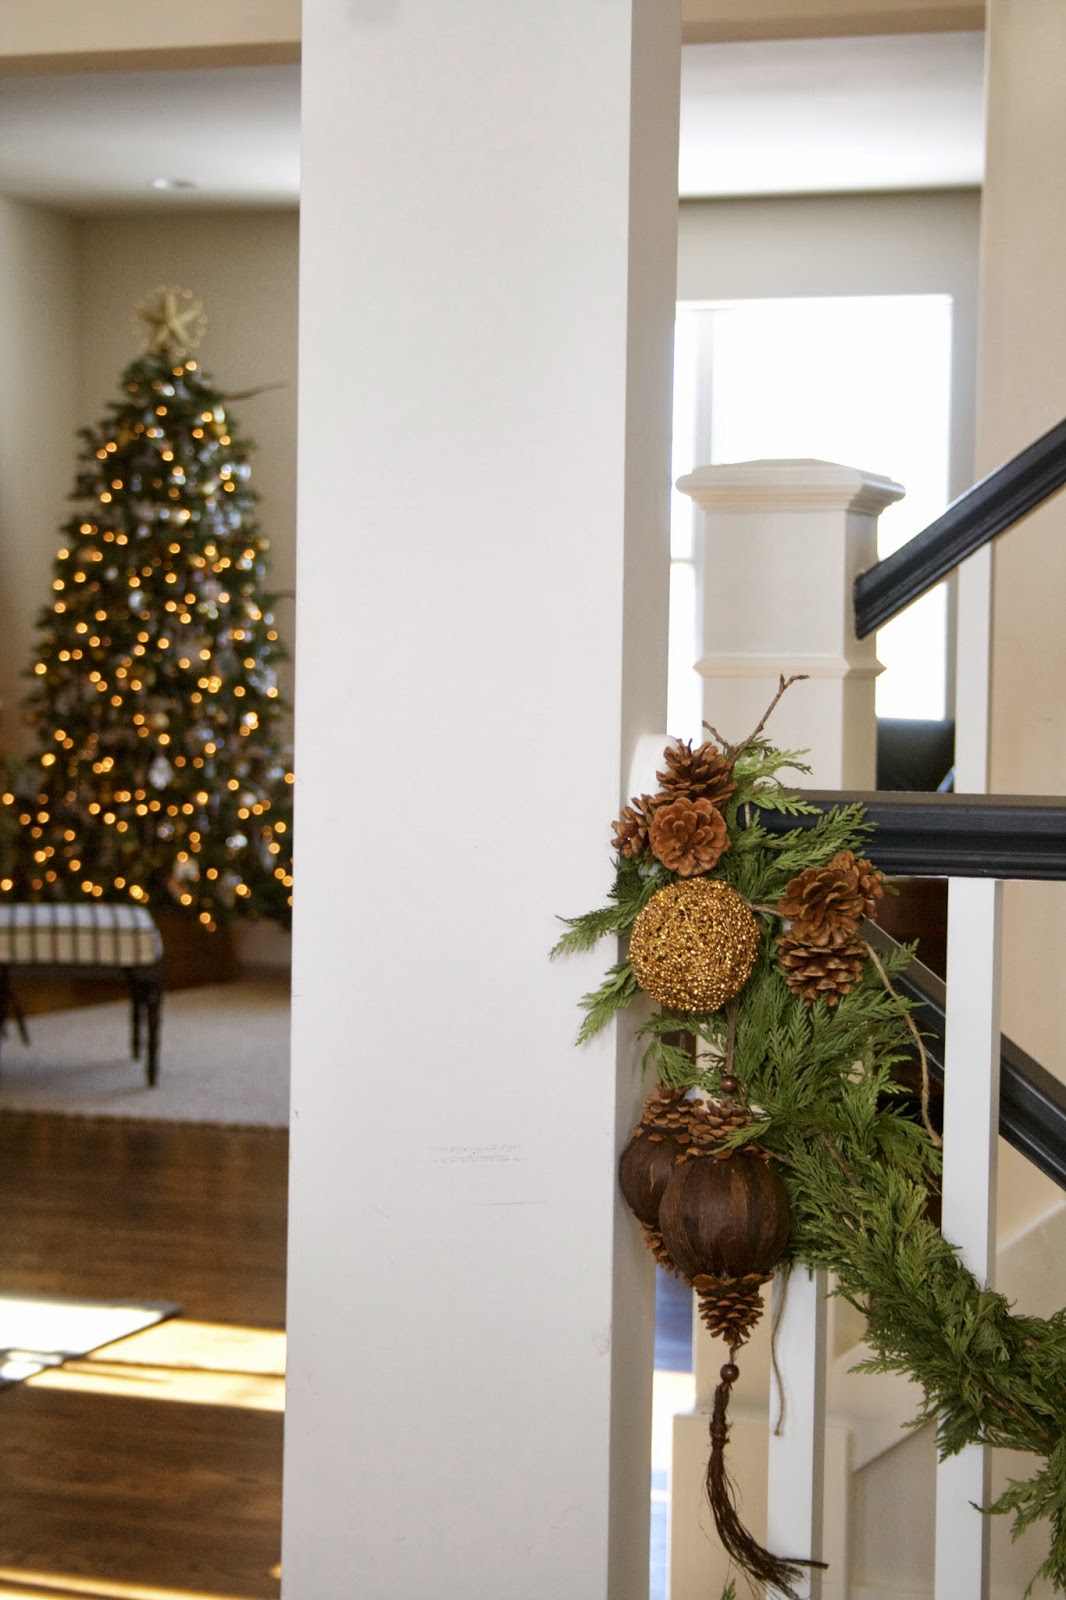
fresh garland, gold balls, pine cones and some fun pine cone balls with tassels (that i bought for 90% off two years ago and have never used!) adorn the stairs.


i put some garland and glass balls on the chandelier to free it up a bit.

 my entry table, with my antlers, a fresh wreath and some leftover crystal garland.
this vignette makes me happy. :)


 i "took back" the tree this year!
for the last 10 years, our tree has been a collection of family ornaments, and mismatched decorations.  while i have loved it, i was ready for a more grown up tree this year.
AND, we broke down and bought a fake tree this year. at first, i wasn't sure i was going to like it, but after having it up for a week, and having zero needles on the floor, i am IN LOVE.


our tree has a TON of glass icicles, gold, silver, and all shades of soft metallic glass balls, as well as a few dozen picture frame ornaments.

 
i actually made these little striped ornaments from some 47 cent paper mache ones that i found at michaels.


 (these are some more paper mache ornaments that i painted.) i like the touch of black that they add to the tree!


thanks for touring my house!
merry christmas!

PS--i am still struggling with my internet service. i am actually sitting at mcdonalds right now, writing this post. after 3 days, 2 technicians, and over 8 hours or visits + phone calls, my internet is not working at ALL. i am hoping that things will be fixed my this weekend. if not, i may just go a little crazy in the head.



Dec 10, 2013

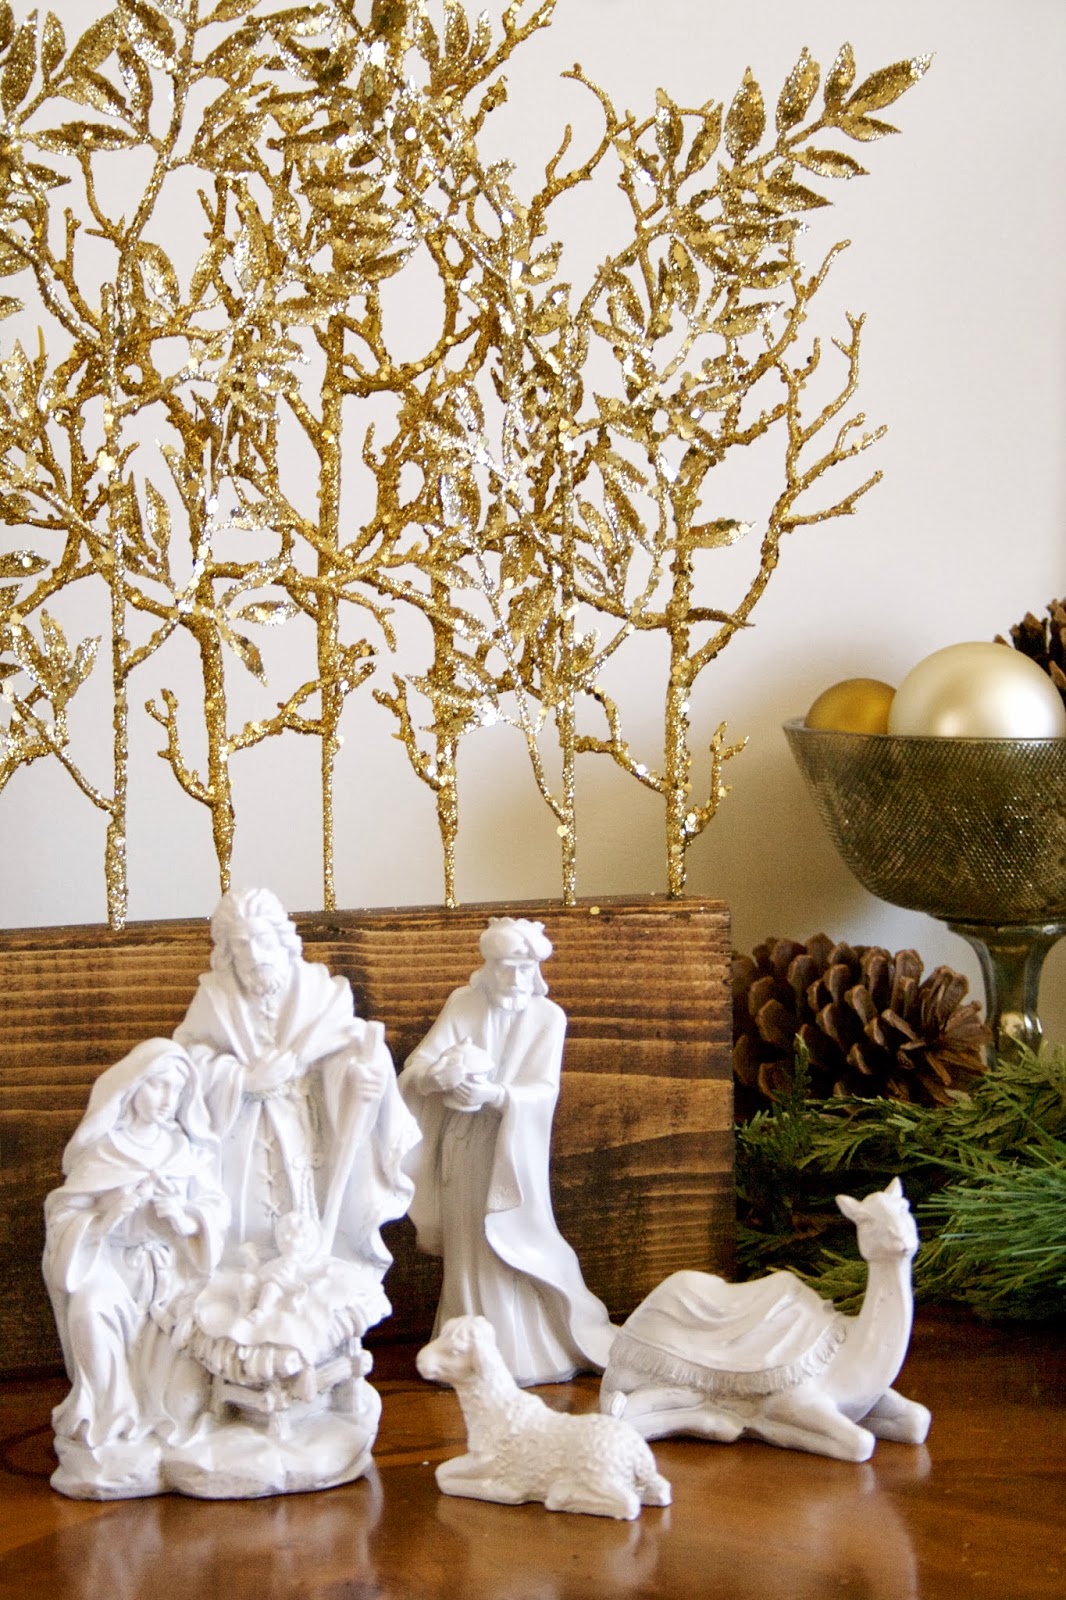
diy simple + chic christmas nativity


i have been looking for a new nativity set for the last few years. i wanted one that was simple, preferably all white,  a little bigger than the one i have had for ages, and affordable. you would have thought i was looking for a unicorn! i have searched and searched, and found some very pretty ones that were all over $150, and found some very affordable ones that were not at all my style.
and so i decided to make one!


materials for this project:
*1 2 x 6 board, cut to fit your nativity. mine is 16" long
*nativity set. i bought mine at walmart
*long holiday picks. i used 11 for my board
*ivory/white spray paint
*stain for board
*pencil
*drill/drill bit
*measuring tape
*sandpaper
*wire cutters
(optional star--mine was bought last year on clearance from pier 1)


the first thing i did was figure out where to place the holes for my picks.


i placed my marks about 1.5 " apart, and staggered them--one in the middle, one closer to the front, and another closer to the back of the board. this staggering effect creates more dimension and allows more picks to be placed on the board.


i penciled in an X or O where i needed to drill.
after i drilled the holes, i lightly sanded them to remove any sharp edges.


the figures were all sprayed with white paint. i used fusion paint (good for plastic) since my figures are made of resin.


i bought some spray "stain/polyurethane in one", but it was a bust. the color was much lighter than promised, and it went on streaky. i had some stain leftover from when we tested colors for our hardwood floors, and so i used "dark walnut" from minwax.


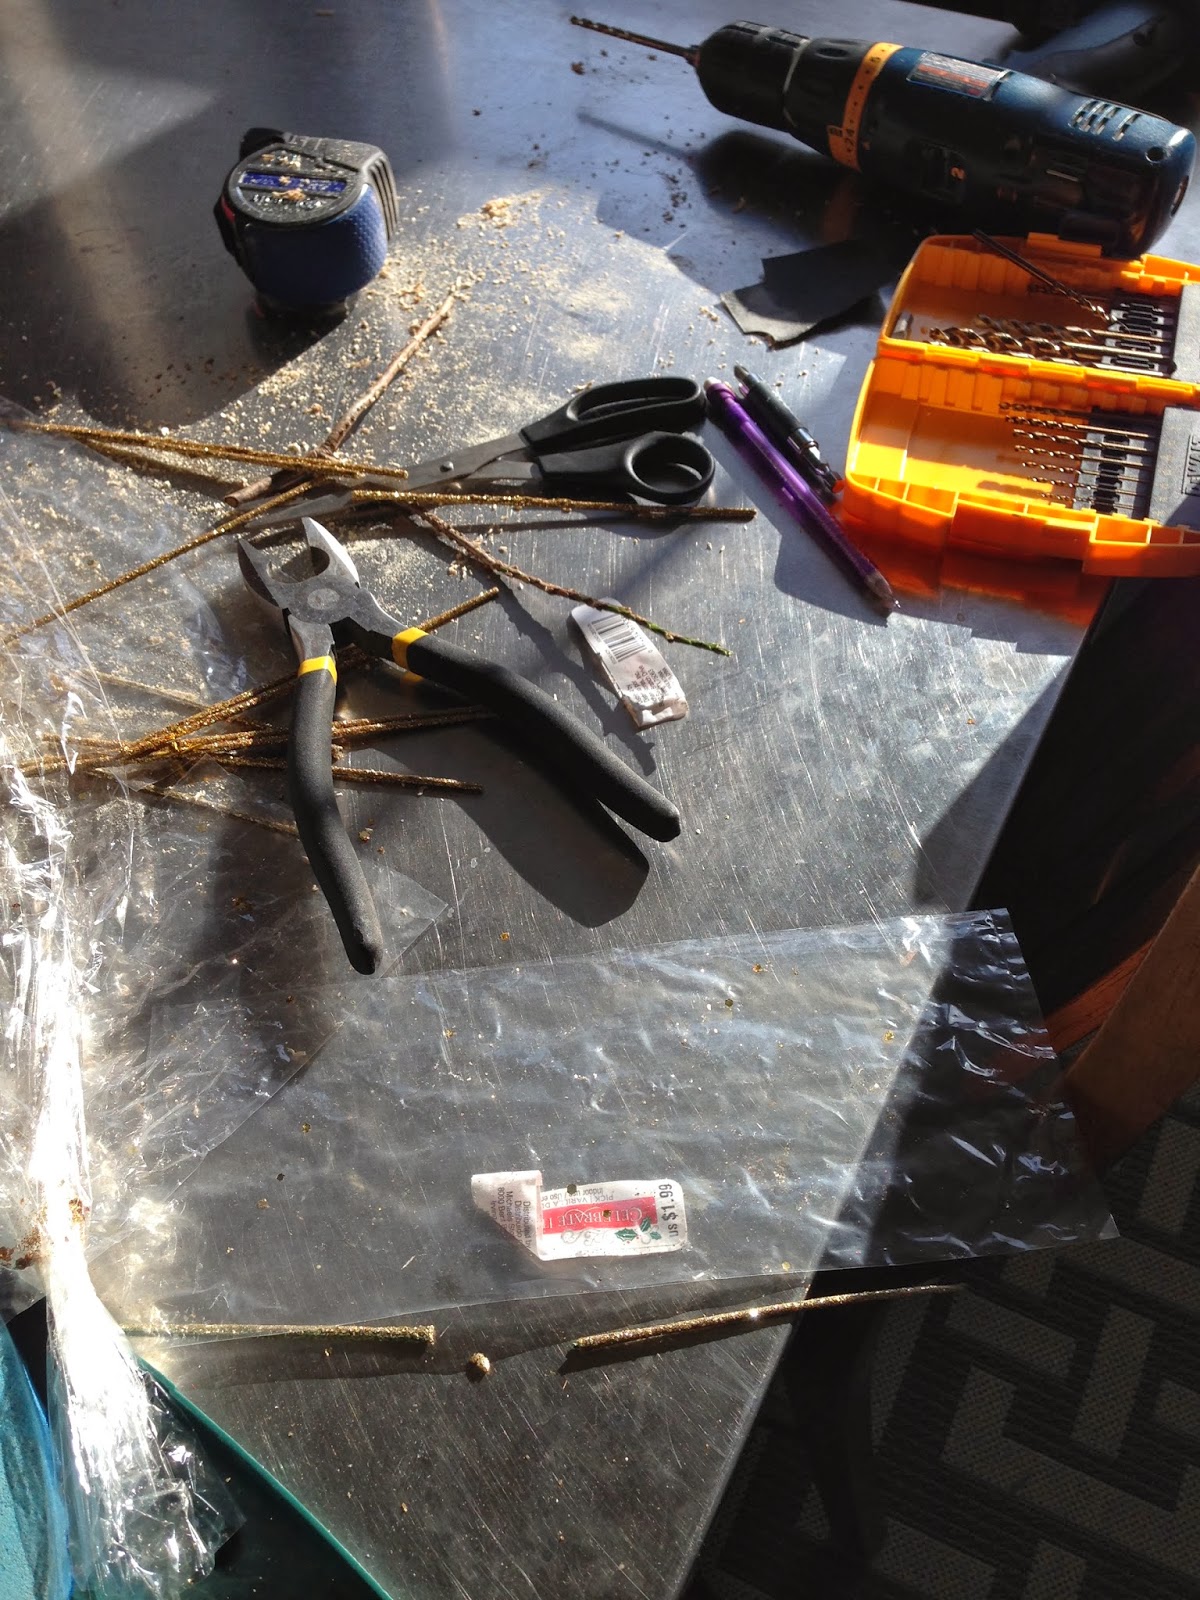
the picks were cut down in order to fit into the drilled holes. sorry i didn't get a picture of me ACTUALLY cutting them. i kinda like my fingers and want them to stay attached to my body!
here's the aftermath:


and, the finished product!


you can see a little peek of my holiday decor in these pictures! i will be posting a holiday tour of my house later this week!