Showing posts with label construction. Show all posts

Nov 13, 2014

before + after: basement rec room (the power of an hour)

often, clients will contact me in the middle of a remodel. there is something about seeing those ripped apart/raw walls, that prompts many people to finally feel "ready" for some professional design guidance.

this particular client was at the beginning of finishing a basement rec room. this space was to function as a play/toy and game room, as well as a movie watching area for the family. she needed some guidance narrowing down ideas for finishes and furniture layout.

here are the before pictures:
typical unfinished basement stuff...


i created a pinterest board filled with ideas and possibilities, and we spent our hour long phone call talking about:

*creating a functional layout despite the structural columns, access door to hvac system, and bathroom.
* paint colors and wall treatments (stripes, stencil, pop of color in the small nook under the stairs) to bring life and whimsy to the space
*furniture layout + space planning of future kitchenette
*tile ideas for bathroom
*adding large,  frames with stylized movie posters


after:
 simple ikea bookcases function as storage and a seating area. once a table added, this area will be a place for games and crafts.


the striped wall and custom wall letters add a sense of whimsy.


the birch wall stencil and carpet add texture.


the movie posters are just the right balance between fun and chic.


the space under the stairs was painted a kelly green, and gold dots were added. an inexpensive home depot light, and a bean bag chair were added to create a reading nook.


how cute did the bathroom turn out?

 a special thank you to my client, who never lost site of the vision of the finished basement, throughout the construction, and for sending me these great AFTER images!


interested in working tougher on a space in YOUR home?
email me at autumnclemons@Yahoo.com to get started!
you can see more spaces i have worked on here.

Nov 10, 2013

Tips for Economical Commercial Property Development (a guest post)

Statistics can be misleading, and are often manipulated to present the most favorable side of a particular argument or dispute. Take the facts and figures surrounding the current UK economy, which according to international news agency Reuters grew at its fastest rate since 2007 throughout 2013. This is at odds with the experience of many citizens, however, who are struggling to sustain the existence without incurring long-term debt. Despite this, however, growth in the buy-to-let and commercial property markets remains considerably strong, meaning that those with enough disposable income can invest in lucrative real estate.


Top Tips for Commercial Property Development

With this in mind, new-comers to the commercial property market have a unique chance to achieve considerable returns. This is so long as they develop their portfolio carefully, however, and pay attention to the following: - 

Regional Growth and Regeneration

As the nation has evolved and regeneration has taken hold, the entire landscape of the UK has changed beyond all recognition. Once affluent areas have become poor, for example, while working-class, industrial cities such as Liverpool and Manchester have become central hubs for entertainment and culture. You must therefore pay careful attention to the area in which you intend to purchase commercial property, as any future growth plans or development projects will have a direct impact on your earning potential over time.
Furnish your Property in a Sleek but Affordable Manner
If you are looking to provide tenants with appealing and functional commercial spaces, it is crucial that you are able to deliver furnished offices. This requires a significant upfront investment, despite the fact that you have no guarantee that your project will be successful or profitable. This means that you must look to minimise your investment as much as possible, without compromising on the look, presentation or functionality of your property. To achieve this, you should consider kitting your property out with contract furniture solutions from suppliers such as Peel Mount.

Set a Fair and Reasonable Rental Price


Leasing commercial property is difficult to the typical terms of buy-to-let agreements, so it is crucial that you understand this prior to entering into a contract. Not only are commercial property leases far longer than the standard residential tenancy agreements, but the rental cost can also be paid annually as opposed to monthly. Taking these factors into careful consideration, your task is to set a fair and reasonable price that reflects the precise terms of the lease and the needs of your tenants. You will also need to consider the area in which the property is based, as the presence of more affordable commercial property space could serious undermine your chances of success.


Aug 25, 2013

The Steps you Need to Build Your Own Home (a guest post)

The Steps you Need to Build Your Own Home
Your home is the most important place in the world to you, and this is a place in which you will relax, unwind, socialise, eat, sleep, have fun and perhaps bring up a family, so it needs to be perfect. There are few things more satisfying in life than building your own home, and it also brings a lot of benefits too. This will give you an enormous amount of satisfaction and pride, and once it’s completed you will have an attachment to it that not many people get to feel towards their house. Of course building your home is no simple and straightforward process, and there is an enormous amount of planning, preparation, construction and plenty more to do.


The very beginning stages will involve finding a suitable location and having the blueprint designed, and this can be done with the help of an architect or engineer. You will be able to discuss with them your needs like the number of bedrooms and the layout, and they will then be able to take this information and come up with a suitable design. With the design and location arranged the next stages involve having the property surveyed and the footprint of the house identified, and you will then need to acquire the relevant permits for construction to begin. These permits will include a building permit and possibly a septic tank permit, electrical permit, plumbing permit and a mechanical permit, and this will all depend on local codes and zoning requirements.


Starting the Construction Work
That is all of the preparation taken care of, and now you can move onto the physical work. With the construction there is a large amount where you will probably want to use a trained professional, but there may be a fair amount that you can do yourself as well. A few of the trades that will be involved in the building of a home include site work, bricklayers, electricians, plumbers, insulators, painters, flooring installers and heating, ventilation and air conditioning installers amongst a few others.


With the building there will be an enormous amount of machinery and equipment that will be needed, and even if you seek the services of a professional you may need to provide this for them. This will include machinery like excavators and other construction machines, and for large items like this you will need to visit a specialist provider, Scot JCB being an example. The construction process will be a long and no doubt stressful one, but it will also be hugely exciting and satisfying too, and once you are completely finished you will have your brand new home which you designed and built, and there is no feeling in the world quite like this one.

Jul 22, 2013

the punch list: (what is still getting done around here - june/july)

things are gettin' done!
maybe not as fast as i want them to, but they are definitely getting DONE.
here are a few things that have happened in the last few weeks:

first off---we finally got our range! yee-haw! i was without one for about 6 weeks, and so when we finally bought one, it was like christmas!


if you follow me on instagram, then you have already had a look at my range.


allen managed to get it installed the day before fathers day...coincidence? or did someone want to make sure he had some good stuff to eat on his special day? hmmm....
(i plan on writing a review of it soon, but i wanted to test it out and make sure it wasnt just pretty to look at!)


our door hardware arrived and we (and by "we" i mean my husband, allen) installed all of the interior knobs. we still need to install the exterior door hardware.
(by the way, how GREAT is it to have a handy husband? i love that my man can do just about anything around the house. he hasn't had to do much the last 5 years that we have been renting, but he has been doing a crazy amount of stuff in the last few months! thanks sweetie!)


i seriously cant tell you how "grown-up" and fancy i feel having REAL door knobs!
(the eye-holes were getting old. yes, they were.)


i am REALLY happy with the ones we chose.  you can read more about the knobs we selected here.

we installed our irrigation system.
yes, you DID just hear me *yawn.
i have a client who just built a home down the road from me, and when we get together, we always commiserate on how much it costs to put in a yard---and how much we would rather be spending that  money on some pretty window treatments or a table.


in the front yard, we put the pipes in first, and then had the topsoil brought in to cover them.  i guess most people bring the topsoil in and then have to dig trenches to lay the irrigation pipe. this doesn't seem very interesting to me, but my husband thinks it is a----mazing, and so does every male that he talks to about this. (*yawn)


 more exciting that irrigation, but also not a punch list item (more like a bucket list item)
i found myself a fiddle fig tree! it took about 7 phone calls and 2 months, but i GOT one.


 this one is a "column" variety...it is a little more bush-like than a typical tree. i love it!
i found it at the J + J garden center in layton in case any of you locals are interested. call first and make sure they have some because they go through them fast!


my new tree loves her new home and promises not to die. yep. she told me so...
(i cant wait to add some built-ins, trim and a fireplace to the living room. it will be a while....but i can wait.) 

our new (slightly controversial) front porch lights got installed:


and, we now have a door bell! which we can upgrade later...(this one is pretty boring, but it is better than having wires sticking out the wall!)

yes, the house is really dirty from the soil being brought in, but once the sod is in, we will pressure wash the house.

this weekend, we got the final grading done in the yard, and the mulch for the front beds is in.

 it makes such a difference in the way things look! we were supposed to get our sod delivered, but there was a problem, and we will have to wait. it will be nice to see some green around the house!


thanks for following along!

May 29, 2013

the punch list (what's still getting done around here)

one of the GREAT things about being married to your contractor is that you get to move in before your house is 100% ready.
one of the CRAPPY things about being married to your contractor is that you get to move in before your house is 100% ready.
ha! ha!

we still have quite a few "projects" that are happening on the house.
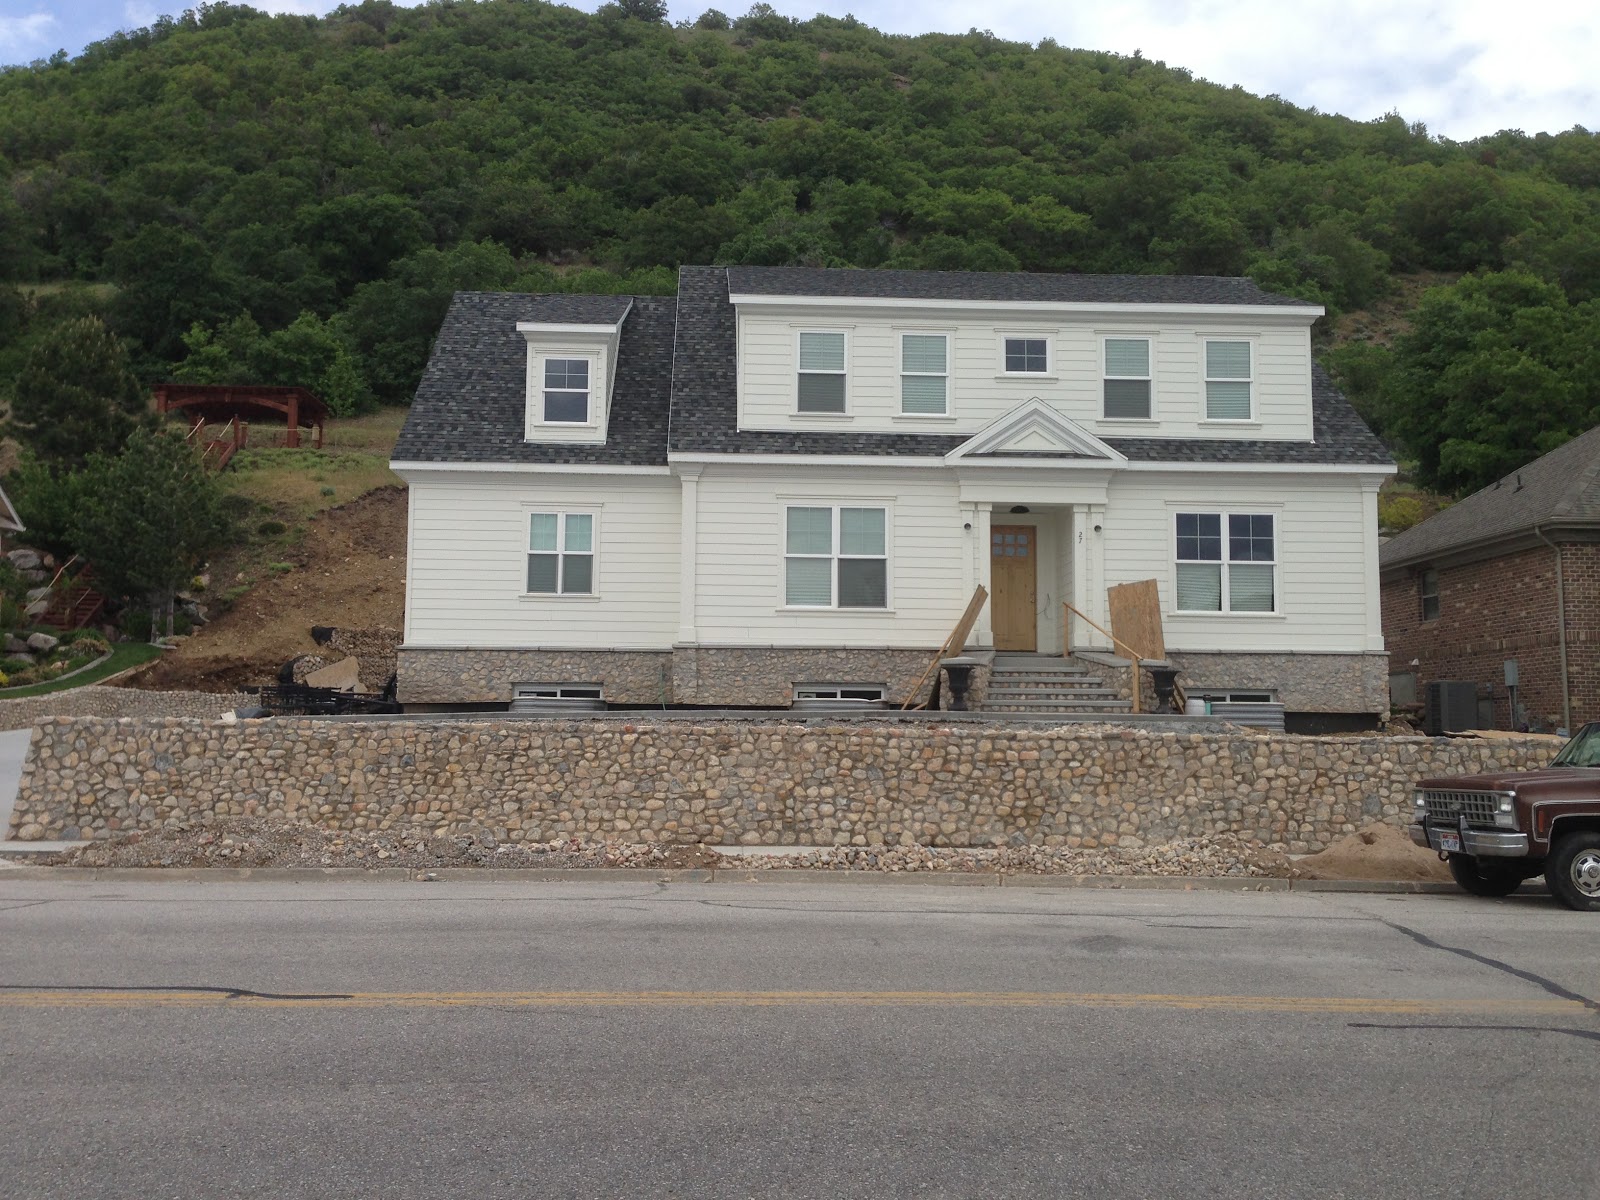
remember the front retaining wall? when we moved in, it looked like this:


we have been working on it for the last couple of weeks, as well as the area to the left of the driveway, which was previously a narrow, steep strip of dirt.


i am happy to report, that both are officially finished!


once the landscaping and grass goes in, it will look amazing!


we also had stone laid under the front steps.
before:


after:

i really love the way the stone here ties the steps in the  front of the house and the retaining wall.

in the master bathroom, the extra shower head got installed. it was looking a little sad laying on the floor of the shower:


we still need to get the glass and a door, but other than that, it works fabulously!


 there is still a lot left to do, and i will be showing you progress photos every week or two as we cross items off our punch list!


sorry about the sporadic posting lately. my dear 90 year old grandmother passed away late last week, and i have family coming in town for the funeral. things are going to be busy for the next few days.
i am excited to show you around the rest of the house, but most likely will not get around to it until early next week.


May 9, 2013

a (very) basic lesson on installing hardwood floors

you know how right after something traumatic happens, you don't want to talk about it for a while?
like talking about it almost brings back all of the pain and aguish?
that's a little bit how i feel about installing hardwood floors!
(i am kinda joking about that, and kinda NOT joking at the same time!)
i also happen to feel that way about moving!

anyway, i just wanted to give y'all a very breief intrciduction to how my husband and i spent about 300 hours of our lives:
i wouldn't use this as a guide on exactly how to install hardwood floors, but it will defeintely give you an idea of what you are getting yourself into if you decide to tackle this yourself!
for best results, a 15 pound felt underlayment should be laid down on top of the subfloor, which acts as a vapor barrier. (that's the black stuff you see! it comes in a big roll and is available at any home improvement store.)

be sure that the floor is swept and free of debris before the felt is laid down. any lumps or bumps could create uneven spots in the floor.


we stapled down about half of the felt, but ultimately found that NOT stapling it down worked the best to reduce wrinkling and bubbles.


hardwood comes in bundles, like you see here. the woods needs to be acclimated to the space where it will be installed because it is sensitive to moisture levels and temperature and will expand and contract. bringing it inside a few days before it will be laid will allow it to "get used" to the air in your house.

bring over at least 2 bundles of wood close to where you will be laying out the floor.
mixing two bundles will ensure an even distribution of lengths, color and grain.
we laid red oak #2, which means that the wood has some "flaws" like wormholes and knots. we actually love the "flaws", and feel like it gives a floor more character. there are also on occasion, boards that cant be used due to missing tongues or grooves, or really large knots and imperfections. we found that, on average, about 10% of the boards were "undesirable" or unusable.
(red oak #1 is a more "even" product--less variation, fewer worm holes and knots. it also costs more that #2.)

carefully cut the plastic straps that hold the bundles together. it is best to cut on the underside of the wood, so you don't score the face of the planks with your utility knife. (the underside of the wood has grooves on it that allow for air movement and help the wood to lay flat on an uneven surface. the top surface is flat.)

next, you "rack" the wood, which means you lay it out on the floor exactly the way in which it will be nailed down.


a few things to consider:
make sure the joints are not too close together. a good rule is at least 2.5 widths of wood between each seam. this will ensure a stronger floor.


make sure that each plank fits together nicely. sometimes they are milled wrong or are missing a tongue or groove.
we found that the work went faster when the "racker" was 4-8 rows ahead of the "nailer".

leave enough space in between where you are racking and where the wood is being nailed in place so that there is room for the nailer to hammer in the staples.
at the end of each row, there will almost always need to be a cut made.

for this project, we used a table saw (for long narrow rips along walls), a chop saw (for end cuts), and a jig saw (for cuts around heat registers and door casings).

each plank gets tapped into place with a rubber mallet. sometimes they go in smoothly, but other times they need some serious whacking.

once the plank is in place, the rubber mallet is used to drive the nail or staple in place. we used staples,
and drove them in about every 6". even though the nail gun is pneumatic, it still takes a pretty hefty swing of the mallet to drive the staple in! translation: it is hard work and will make you sweat a lot.


the staple should fit nicely, right at the top of the tongue. see how you can barely see the staple? that's what you want!

sometimes, the staple splits the wood or doesn't go in properly.
if that is the case, it must be removed with with a hammer and chisel, and the entire area cleaned of wood chips and debris.
loads of fun. 
(can you hear the sarcasm dripping off that comment? i hope so. that part was the WORST.)

as you move along, the area where you will be laying the wood needs to be cleaned to ensure that everything lays perfectly flat.

once you get close to a wall, the staple gun cant be used becuase there is not enough room to swing the hammer. a nail gun must be used instead.

of course, laying the wood is just the  beginning of the process...

 but the hard work...

 is definitely worth it in the end!

have a great thursday everyone!