

what you will need:
computer/printer
deer template
1 sheet of foam core
spray adhesive
wrapping paper, or other large paper
accent paper, if desired
xacto knife and fresh blades
cutting mat
paper clip or wire
first, get your sheet of foam core.

spray one side lightly with spray mount.
i used super 77--i happen to LOVE this stuff,
but any spray adhesive will do.

i laid out my wrapping paper on the floor,
and used cans to keep the ends from curling up.
of course, i used my houndstooth wrapping paper,
but you could use any pattern!

after laying the foam core one one side of the paper,
i smoothed out any bubbles, then
sprayed the other side with spray adhesive,
and adhered the paper to the other side.
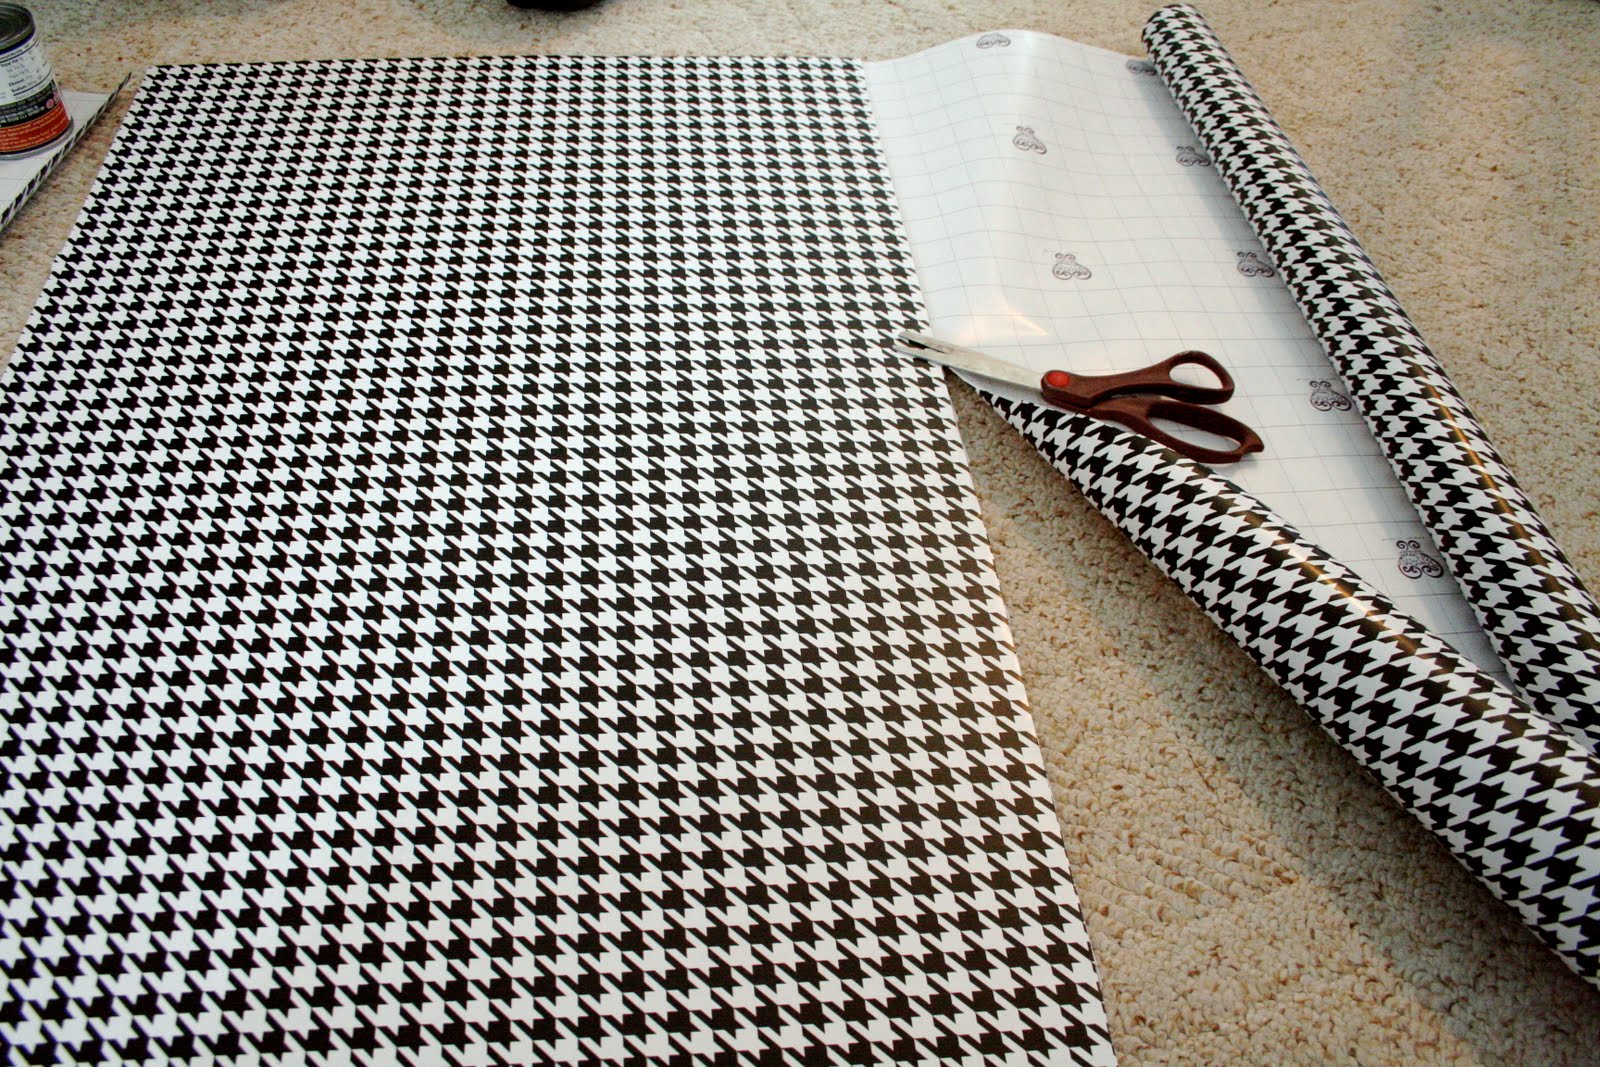
trim off the excess...

and again, carefully smooth out any bubbles.

print your template,
attach the pieces together with tape,
and trim around them.

i VERY lightly sprayed the backs of my
pieces with spray adhesive,
and then laid them out on the foam core.

the secret to getting a
good cut with foam core?
sharp blades!!
i went through three blades
for this project!
for this project!
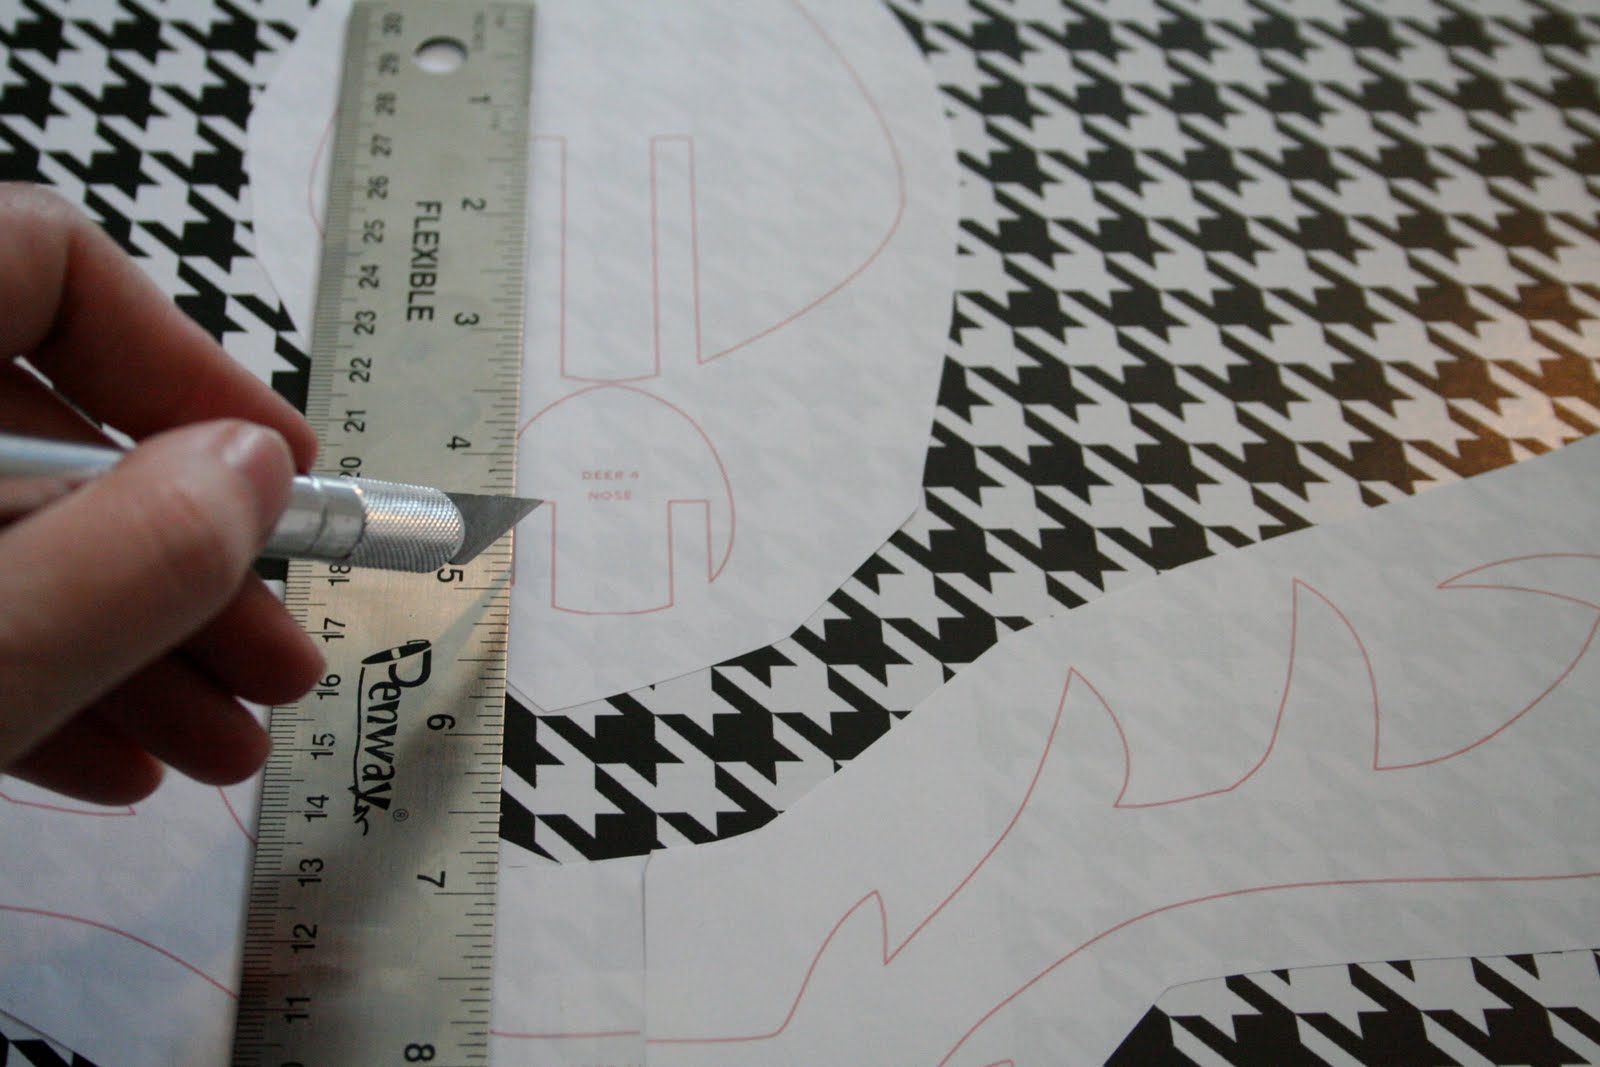
carefully cut out your shapes...
i found it helpful to use a cork-backed metal
blade for all of the straight cuts.
(no, i am not left handed, i just love y'all so much
that i held the camera in my right hand and
pretended to cut with my left hand...
so you could get a good visual.
man, am i nice, or what?)

once all the pieces are cut,
carefully remove the template paper from the
finished piece, and assemble.
(even though the instructions say to use a thicker
piece of foam core for the "mount",
i used the same thickness and it turned out fine.)

i used a push in to make two holes
for the hanger.

i unfolded a paper clip
to use as a hanger because i couldn't find any wire!

here is the finished product!
i used a contrasting paper for the mount.
PS:
this entire project only cost me .99.
i had everything on hand, except the
foam core, which i picked up
at michaels for .99!

PS:
this entire project only cost me .99.
i had everything on hand, except the
foam core, which i picked up
at michaels for .99!

here is the "original" one on the
i love the fun pink paper mixed with the faux bois!

this was a fun little
"finishing touch" project
that i completed this week
for my son's room.

i will be posting more
pictures tomorrow!
i am linking this project to:
the girl creative-just something i whipped up
the diy showoff-project parade
between naps on the porch-metamorphosis monday
a soft place to land
todays creative blog
blue cricket design
someday crafts
the inspired room
remodelaholic
under the table and dreaming
i am linking this project to:
the girl creative-just something i whipped up
the diy showoff-project parade
between naps on the porch-metamorphosis monday
a soft place to land
todays creative blog
blue cricket design
someday crafts
the inspired room
remodelaholic
under the table and dreaming


Thank you, thank you, thank you. I love it. The first thing I did this morning was check to see if you posted yet. You are awesome!
ReplyDeleteI adore this project! I've bookmarked it for future reference...Janell
ReplyDeleteOh I love it! I think my boys need some antlers in their room. Thanks!
ReplyDeleteOh -- Autumn, you are a genious! Great job and I love the whole look. Well done!!!
ReplyDeleteSo cool!! I love it!
ReplyDeleteMy daughter would love this.
ReplyDeleteWOW! I love this project!! I love houndstooth! Great job! Can't wait to see the reveal!
ReplyDeleteare you kidding me?
ReplyDeleteall of blogland needs to see this!
i was planning on ordering a cardboard trophy next month for my son's room. not anymore!
amazing! i'm tweeting about your little project!
Amazing!!! :)
ReplyDeleteso cool, I really want to try this.
ReplyDeleteGreat choice in paper for this project!
well this is unique and cool!
ReplyDeleteOK, I ran to Michaels and bought my materials this afternoon to do this. Cutting through the foam core was more difficult than I thought. In fact, the inside of my foam looks like a mess...not smooth like yours. Any tips?
ReplyDeleteThanks!
That is awesome! I like your funky patterns
ReplyDeletemichelle,
ReplyDeleteyes..there is a trick...
SHARP XACTO BLADES...and lots of them!
i actually went through three blades on this project!
the curves are a little hard to cut, but are MUCH easier if you have a new blade!
i cut all my straight cutes first, changed blades, and then used another two blades on the
curves.
you could also use black foam core---it tends to show the "bad" cuts a little less.
best of luck..i hope your next try turns out better.
:)
autumn
Perfection! You did an amazing job! Woo hoo!
ReplyDeletethat is crazy good!! I am loving it!!
ReplyDeleteCool project! Much better than the 'real' ones...ha
ReplyDeleteThese are great! Great tutorial too! You always share the most clever ideas! Love them!
ReplyDeleteWhat a cute boys room...luv the ideas that you had here! Hope you have a FUN week:)
ReplyDeleteBlessings,
Linda
I’m having a GIVEAWAY…come by and check it out…I think you will like it!
I love it! I host a link party on saturdays it is www.iamonly1woman.blogspot.com and would love for you to join me :)
ReplyDeleteOh that is great! I love it!
ReplyDeleteLove the room and I might just give the project a try. I have that wrapping paper too. I love how versatile houndstooth is! I keep a roll on hand at all times!
ReplyDeleteI live in Tuscaloosa, AL & when I make the Houndstooth Antlers I will be the talk of the town...of course I'll refer to you. Thank you!!! PS lived in Hartselle not long ago...noticed the metal board you found there...small world
ReplyDeletei LOVE this idea! How cool. We just bought a cabin and want a modern country feel to it and this is perfect. going to have to give it a try.
ReplyDeleteThis is fabulous! Love the houndstooth print - Gorgeous! Would love to have you stop by the Sunday Showcase Party. Hope you are enjoying your weekend! Thanks so much for the great tutorial!
ReplyDeleteI am in love! Houndstooth makes me happy!
ReplyDeleteThis is so cool! I should make one for our family room so my husband doesn't think he needs to go deer hunting anymore. We have one real deer head in the room and although it's beautiful it always makes me feel a little sad.
ReplyDeleteThanks so much for stopping by and sharing at the Sunday Showcase Party! I greatly appreciate it! This is one of my favorites! Love it! Hope you have a great week! ~ Stephanie Lynn
ReplyDeleteHi Autumn! I'll be featuring your antlers today! Love them! Stop by and grab a featured button if you like! Thanks so much for joining the Sunday Showcase! ~ Stephanie Lynn
ReplyDeleteAutumn, I love this, and I am hoping you are okay with me featuring these! ( I loved them when you shower your sons room I just thought you had bought a kit)
ReplyDeleteAnd I have to go back to make sure I didn't iss it, but where did you find the fabulous paper? You've used it before and I LOVE it!
Have a great Mother's Day
Thank you very much. Your version is so much easier and clear.
ReplyDeleteDo you think I could cut it out of thick carton box and spray paint?
Sophie
sophie....
ReplyDeleteyes, i think FOR SURE these can be made from cardboard! great idea! and cheap too.
:)
where did you find the faux bois?? i have been looking and cant find :(
ReplyDeletethe best way to find faux bois paper is to go to a local scrapbook store, or look at a online scrapbook paper store. good luck!
Delete